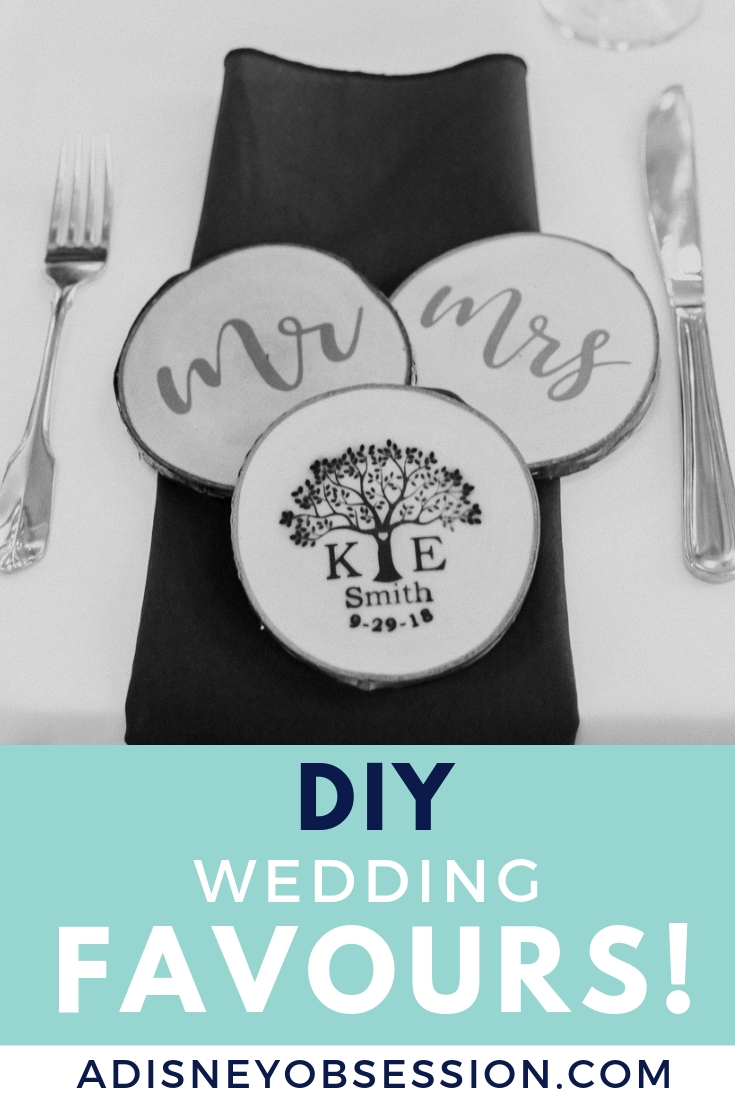
Hello everyone, I hope your day is off to a great start! Today I’m sharing another DIY post, sharing how we made our favours for our wedding! It was a team effort for sure, but they turned out exactly as I pictured them and am so happy with the results! Okay, let’s jump in!

*affiliate links used for convenience*
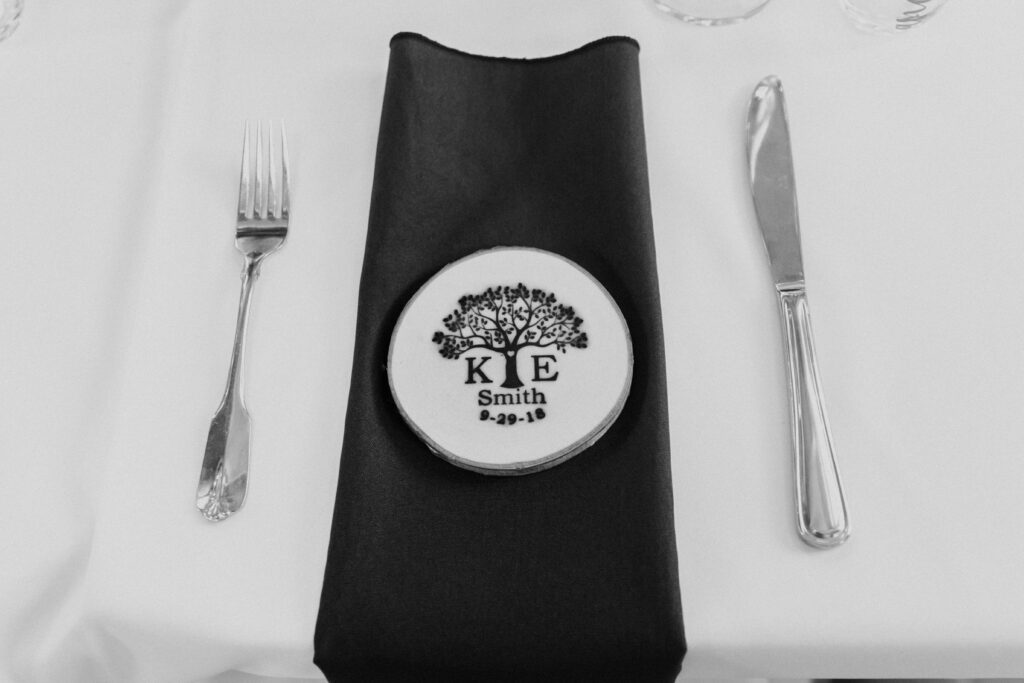
If you read my post all about our amazing wedding vendors, you’ll know we got married at a conservation area, surrounded by woods! So we wanted to channel a rustic (but no burlap!) vibe, and our favours reflected that. I liked the idea of personalizing them and using them as place cards as well, and we wanted to do coasters! So, using my Cricut machine, a brand we purchased off of Etsy, and wood coasters, our favours came to life!
Disclaimer! Unfortunately I had computer issues and was only able to find pictures of the various steps of the process. So there won’t be a video, but I’ll do my best to explain the various steps in detail!
Materials Needed:
- wood in the desired width, or pre-cut coasters (we got ours from this shop) 4 1/4″ wide, 5/16″ thick
- fine sandpaper
- miter saw
- brand (customized with our name and wedding date)
- Polycrilic water based protective finish
- Cricut or Silhouette cutter
- font you’d like to use (I purchased this one)
- vinyl in desired colour (I used this, and it came with transfer tape but when I needed more I bought this one)
- vinyl weeding tools
- Mod Podge
- foam brush
We originally got wood from my Aunt and Uncle, because I really loved the idea of it being a family thing, but unfortunately a lot of the wood wasn’t dried enough, so a bunch of coasters split. We managed to get a few out of it though, and of course gave those to family. We needed more, and bought them off of Etsy (linked the shop above). They were pre-cut, and beautiful! Ethan lightly sanded them to make sure there was a smooth surface for the Vinyl and brand to lay. If you’re wanting to use your own wood.. make sure it’s completely dried out!
The Branding
Once the coasters were sanded, Ethan branded them using the brand we purchsed here. It was electric, plug-in brand and he put it on the highest setting. Make sure to give the brand time to come back to the full temperature between branding, and play around with it using same type of wood before you start. Also make sure not to push too hard when branding, because the wood can bow. Those are all of Ethan’s tips!
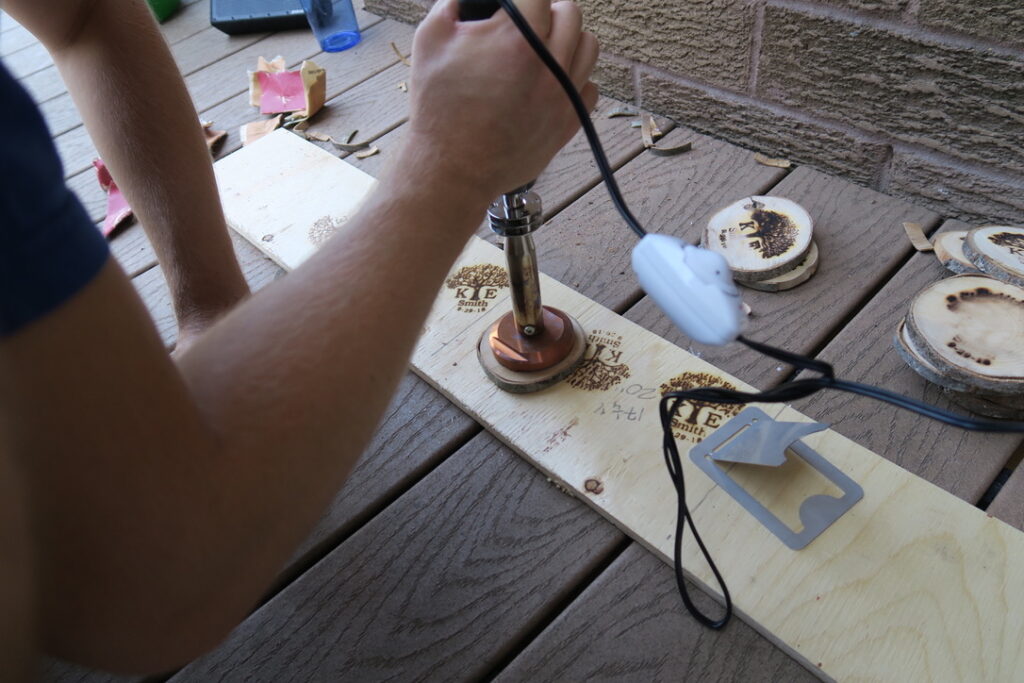
I still absolutely love the design on the brand, and we ended up incorporating into the wedding in a big way (more on that in another post). As for what we will do with it in the future… Ethan wants to build furniture for our house, so he will probably use the brand as a signature of sorts.
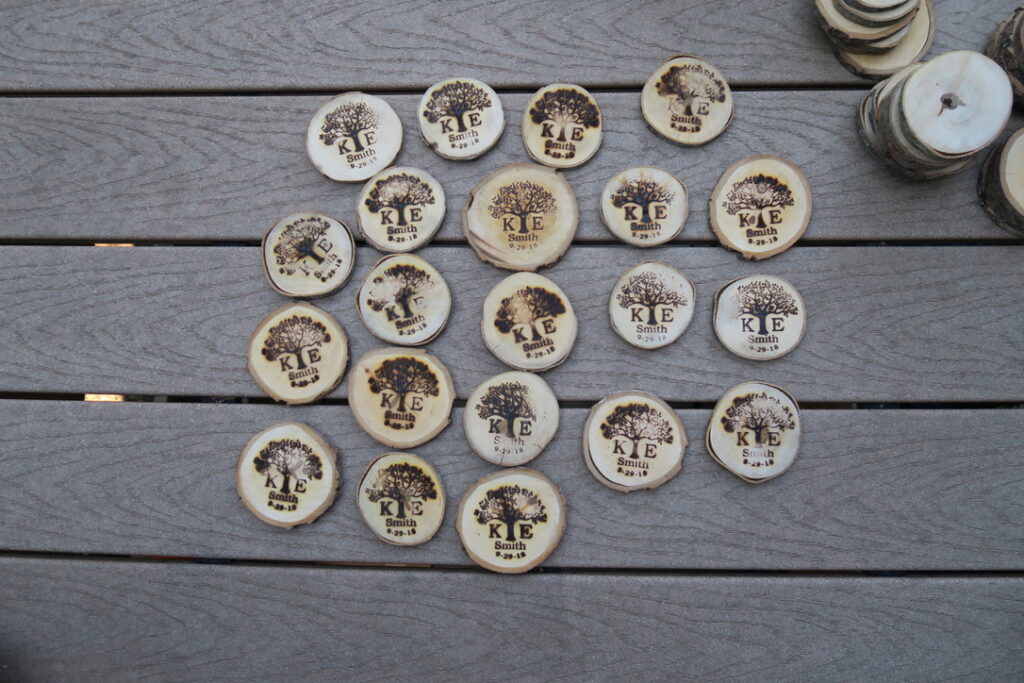
After they were branded Ethan sealed them using this sealant.
The vinyl
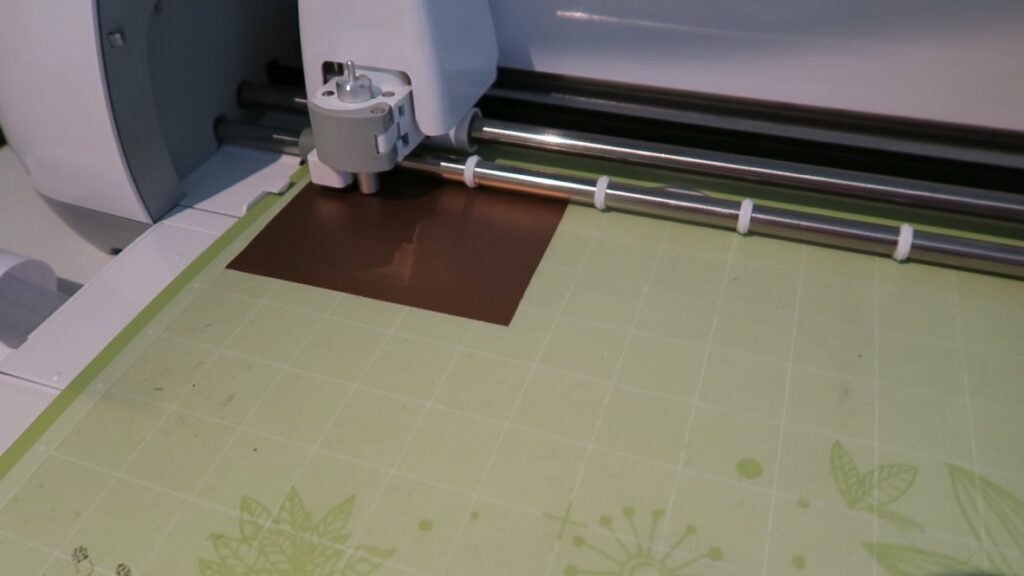
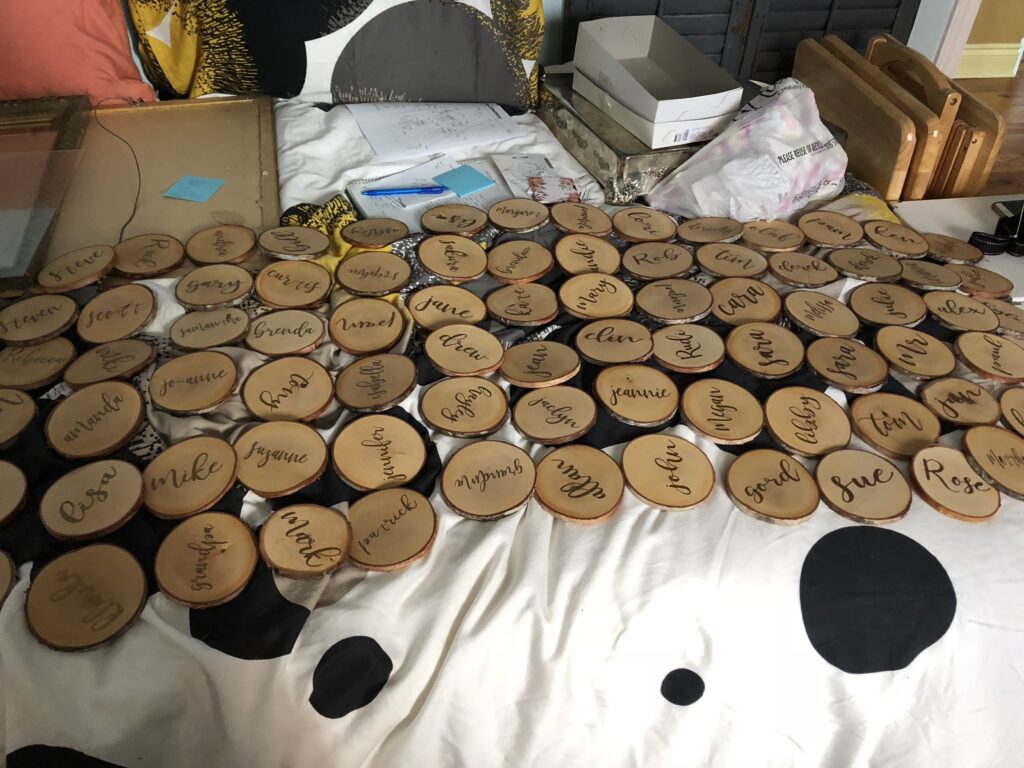
Next it was my turn! I bought a Cricut in 2016 to make stickers with (check out my Etsy shop here.. yes a shameless plug), and with the intention that we could use it to DIY things for our wedding. I bought the font linked above and added it to the Cricut Design Space, and just had to type away! I slowly went through all of the names of our guests (I did I think 13 at one time just spacing them as close as possible to save vinyl). I used copper vinyl (linked above), and just formatting the names so they flowed, I let my Cricut do the work! Below is a picture testing the first one. Later I did them strips at a time once I was comfortable with the spacing!
Once the cutting was finished, I had to weed all of the excess vinyl out from each name. Very tedious! I linked the kit of tools that helped with this part, tweezers and other tools that helped to peel back the vinyl.
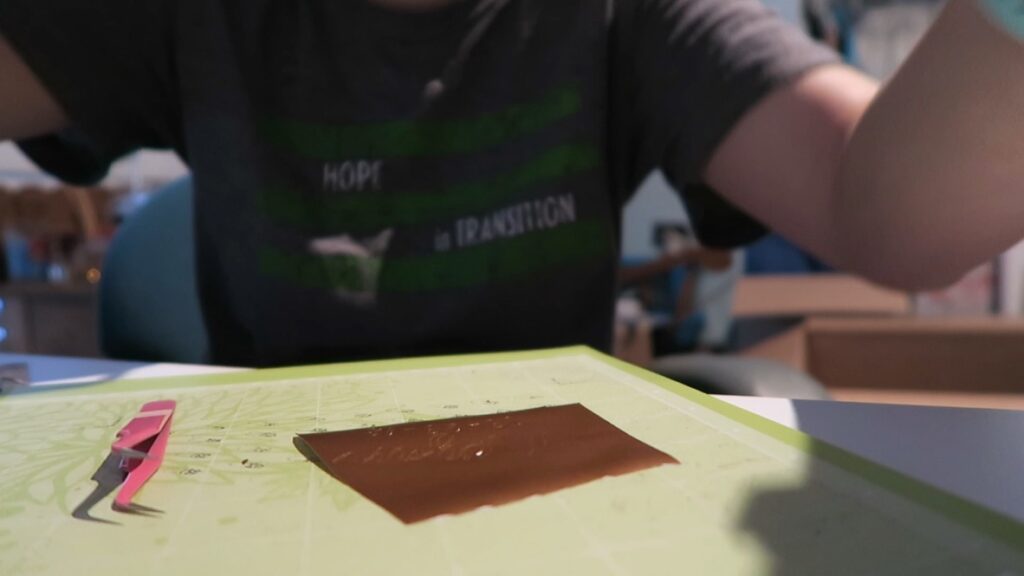
Next I used a clear transfer tape to pick up the vinyl and adhere it to each coaster. I used a scraper that came the tools kit from Amazon (and it’s since been lost so I bought this Cricut brand one which worked well for other decorations). You just have to make sure everything is fully stuck, peel back the transfer tape and voila! It was so much easier than I thought it would be, so we DIY’ed more decorations!
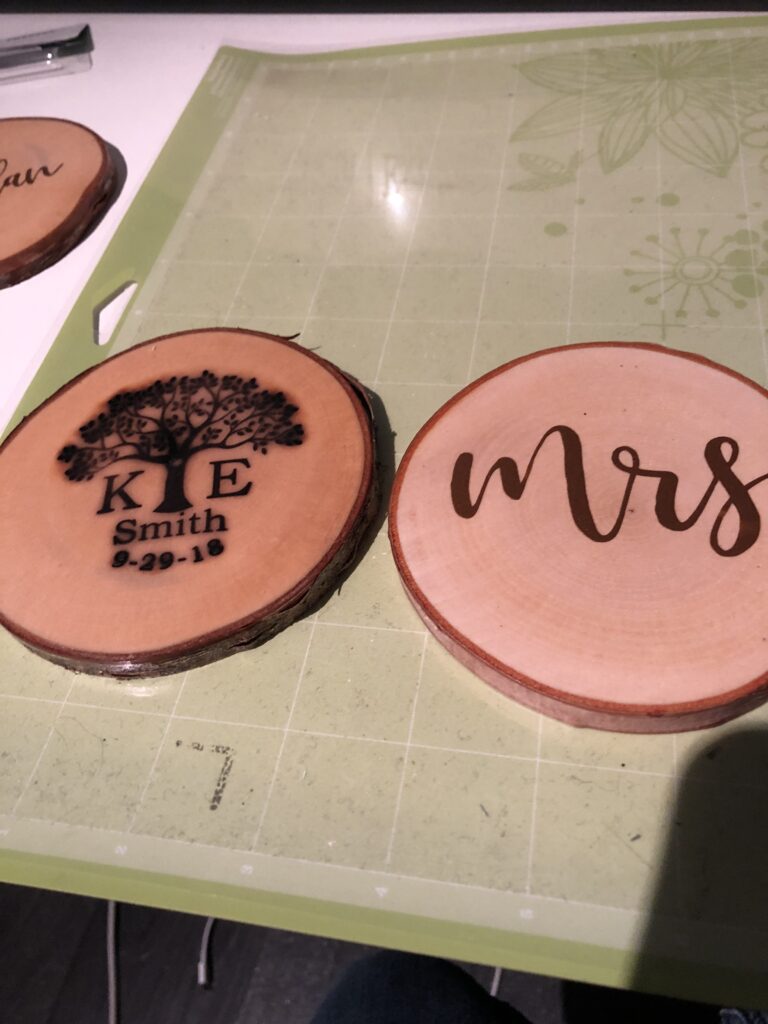
To finish, we sealed the coasters with Mod Podge, and we were done!
It took many hours (full days of looking at these ALL DAY), but I am so happy with how they came out! Plus we’ve already had someone mention that their daughter wants to do the same thing when she gets married, so I call that a win!
What did you have for your wedding favours? Let me know in the comments below!
Other wedding related posts:
Thank you so much for joining me today! And if you have any questions, leave them below and I can answer!

I have mine on my side of the couch for my tea and Uncle Mark has his! xxoo
I’m so glad you are both using yours!