Hello everyone! To expand on last week’s post, I’m showing you just how easy it is to make FastPass+ reservations! I made some fake ones and took screenshots to walk you through every step, just like I did in Your Guide to Making ADR’s. This post is a long one, so let’s get started!
As a quick refresher, you can make Fastpass+ reservations 60 days out (from your first day in the parks, so you can make reservations on the same day for your whole trip) if you are staying at a Disney Resort Hotel, or 30 days in advance if you are staying elsewhere. The window for making Fastpass+ reservations opens at 7AM EST.
To make your Fastpass+ resevations your tickets need to be linked to your My Disney Experience account. If you buy them as a part of a Disney Vacation package you won’t have to do anything special, they should already show up in your account. If you buy them elsewhere (we bought ours from ParkSavers for our upcoming trip) you will need to link them manually. All of the instructions for how to link them will be sent by email.
If you are travelling with other people that aren’t in your room that you want to make Fastpass+ reservations for, make sure they are linked in you Family and Friends list. A few days before you make your reservations, just double check that everything is good to go!
Making a FastPass+ Reservation
When it comes time to make your reservations, from the Walt Disney World Website, hover over My Disney Experience in the top right corner, and click FastPass+. This page will come up, so click Get Started next:
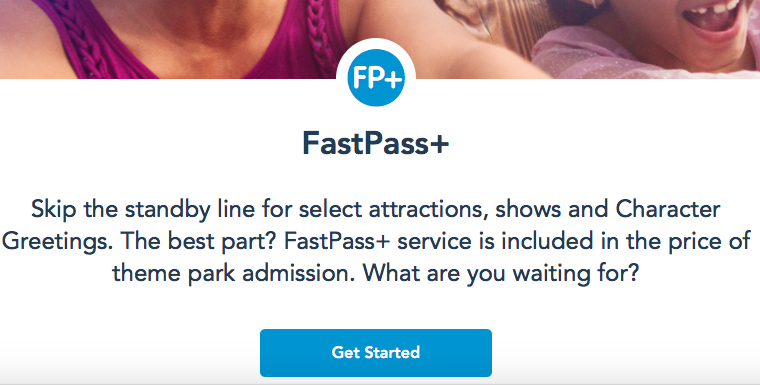
Keep in mind that you must be logged in to take advantage of the 60/30 day window. Otherwise you will not be allowed to click the dates! The window opens at 7AM EST, so if you are logged in a few minutes early you will actually see the window open up when refreshing your screen. After clicking “Get Started” you will see the picture below.
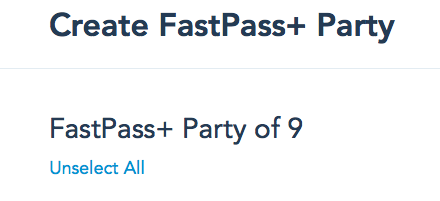
First you will select who you want the Fastpasses for. For families, this is where you want to consider things that only certain people might want to do, or if it’s something everyone will enjoy. To make things easy, you can click select all at the top. Click “next”.
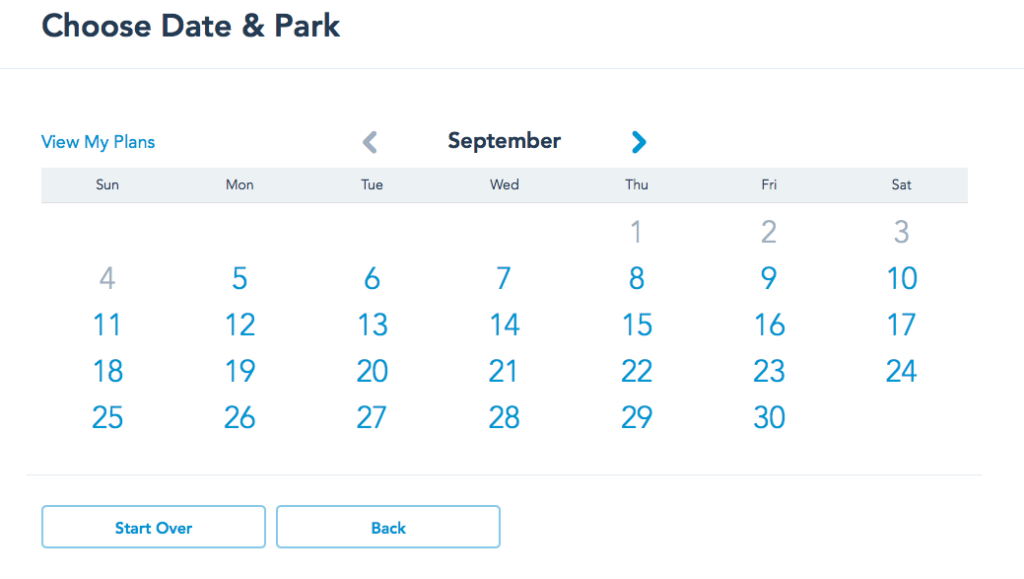
Next you are going to select your date. Just like with ADR’s, you can make reservations for the whole trip, so people who are travelling to WDW before you have already made reservations for the first few days you are there. When making your reservations, you can go day by day in order, or go backwards for “first serve” of the later days in your trip.
Next you are going to select the park you are visiting that day. When I make dining reservations, I think about where I will want to be each day, so since I already have dining reservations (made 180 days in advance), these selections will follow that pattern. The park hours are shown as well, and if Extra Magic Hours are offered they are listed here as well.
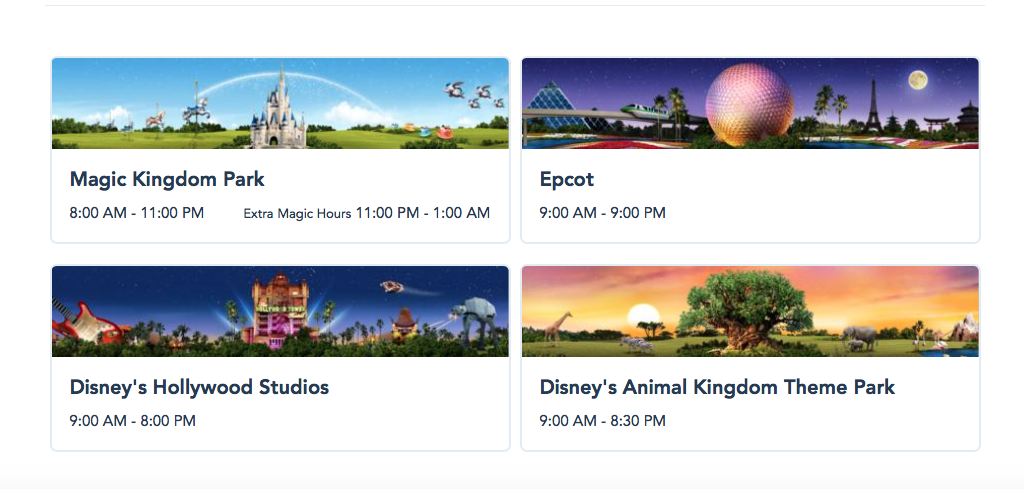
Once you have selected a park, all of the options will show below, with the different time slots available. At the bottom of the picture, you can see you can filter by time.
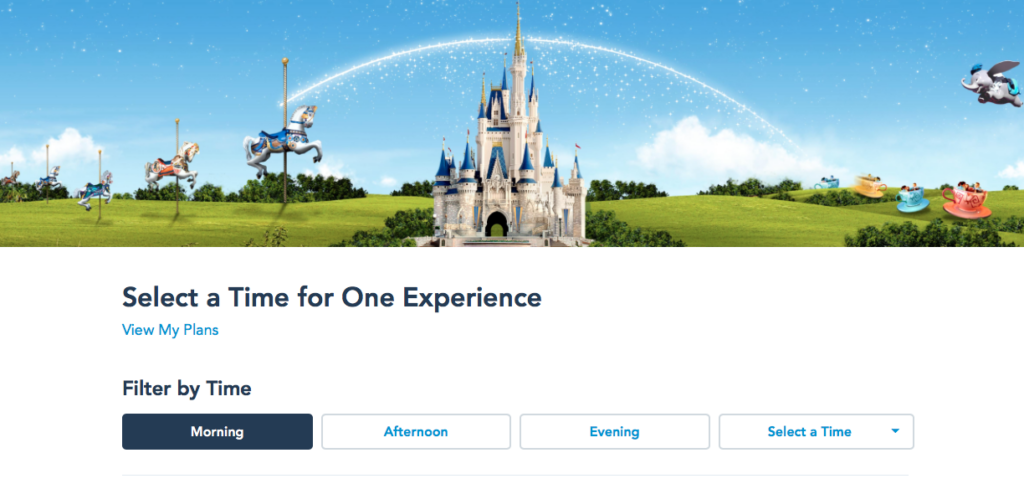
Now you will see time slots. Depending on the ride, the party you are travelling with and a couple other things, you may want certain Fastpasses for certain times (last week I mentioned that I like to ride water-based attractions in the afternoon when it’s warmest). As mentioned above you can sort by times of day.

Above is an example of an attraction with the three time slots. You can click “View Details” to try and get some different times to come up, but with each window being an hour from the time showing, you are seeing 3 hours of the day as an option, which I think is plenty. You can now click on the time you like.
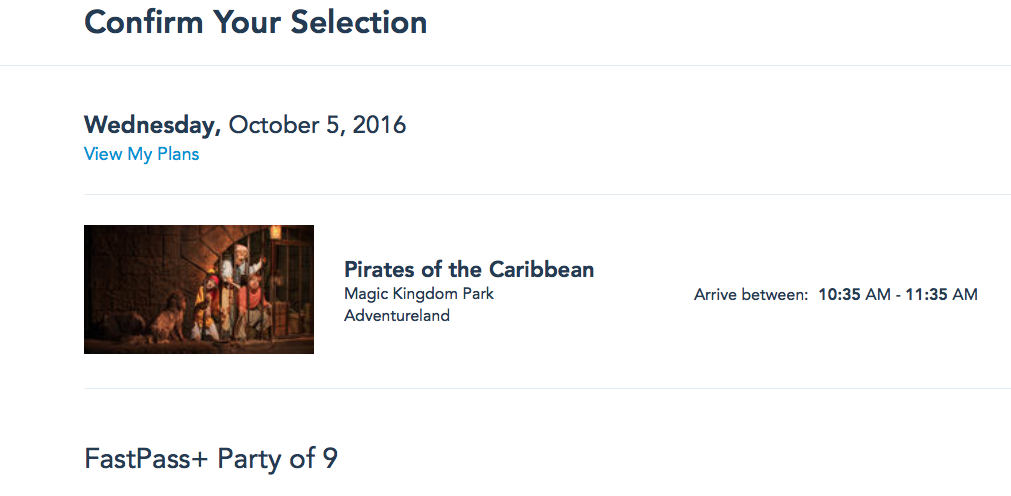
Now you will be asked to confirm your selection.
Click “Confirm”.
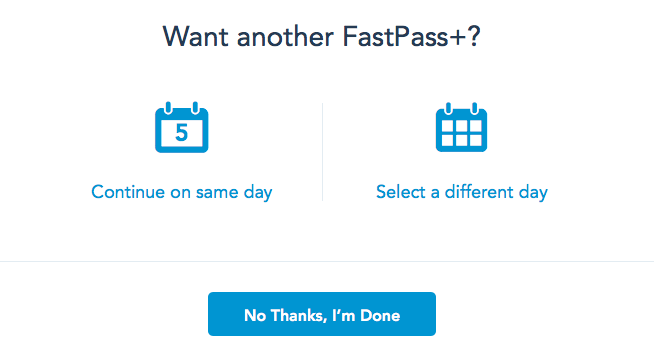
You do have do go through the same process for each reservation, but it will select the park you already have reservations that day for, making it a little quicker. Above is an example of what you see once you have confirmed your selection. You would complete this process until you have all of your FastPass+ selected.
Cancelling a Fastpass+
To cancel a Fastpass+, you first need to view your current FastPass+ Reservations (Selections). Below is the completed one I made following the steps above.

You will click “View Details” in blue. When you click that, you will see the picture below.
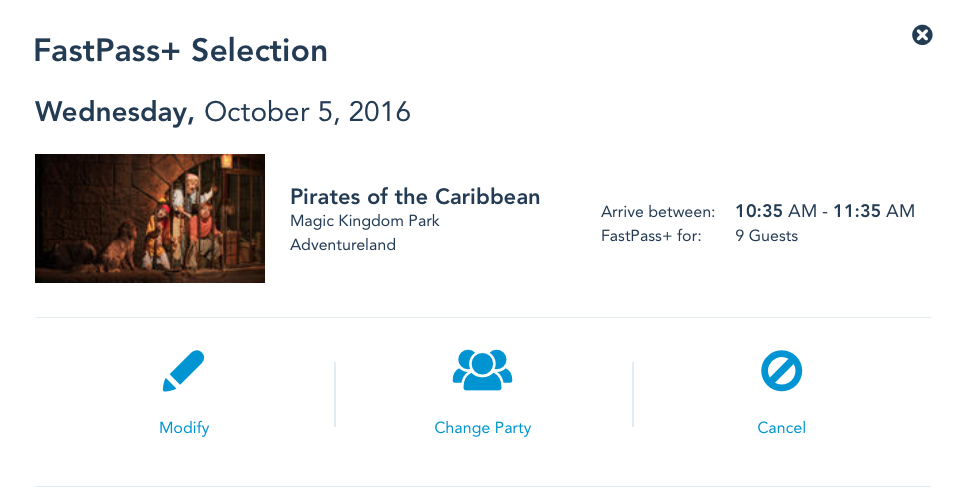
To delete the Fastpass+, click “Cancel”. Clicking “Modify” will allow you to change the number of people, or see if another time is available, or choose another Fastpass+ altogether.
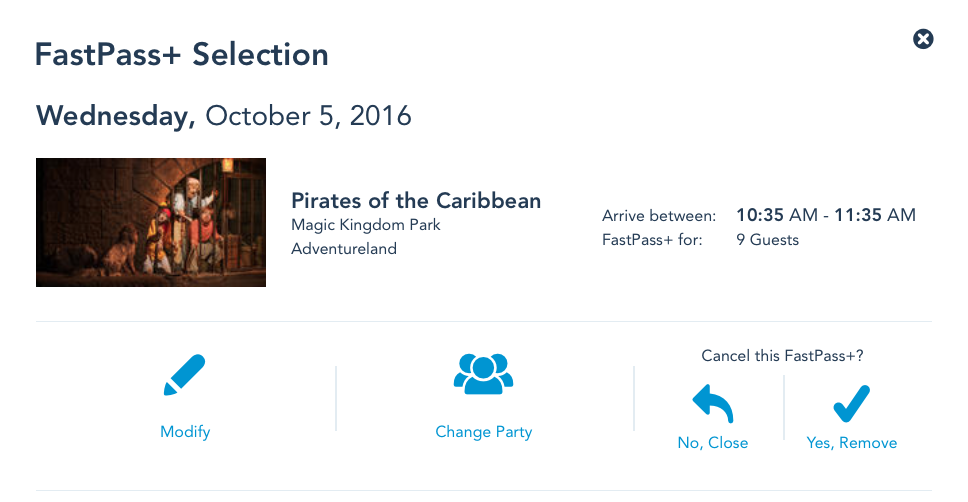
Click “Yes, Remove” to cancel your reservation. This will complete that process.
Final Thoughts
FastPass+ tiers. At Epcot and Hollywood Studios there are tiers of Fastpasses. You can select one from Tier 1 and two from Tier 2. All of the tiers are listed beside each item in the post from last week. When you are making selections at a park with tiers, it is made very clear that you are selecting 1 for Tier 1 and two from Tier 2. If you try to select another Tier 1, you will have to get rid of the current selection.
You can only make Fastpasses for 1 park each day. The only way to get around this is to make three for 1 park, and once those have been used up, make a fourth for another park.
After you have used up your original 3 Fastpasses, you can make a 4th using the kiosks around the park, or the My Disney Experience App. After you use the 4th, you can select a 5th, and so on and so forth.
Any rides that are currently under refurbishment will show as unavailable. This is also where any “sold out” fast passes will show. Typically Frozen Ever After and Seven Dwarf Mine Train “sell out”.
Time slots cannot overlap. Each time you are selecting is actually an hour time period, where you can arrive at any time in the hour. Keep this in mind when you are making your selections.
If a ride happens to be down during your time window, you will get and email to the account associated with your My Disney Experience, with the rides you can use the FastPass+ replacement for. The FastPass+ will not expire 🙂
To make the most of your Fastpasses, use them on attractions that might have a longer wait time, or rides you know for sure you want to experience with minimal wait.
I hope you have enjoyed a look at the process of making FastPass+ reservations, the technology has definitely made quite a change in the last few years! While I do miss the paper Fastpasses, it’s much easier now to not have to run back and forth around the park, and you are “guaranteed” 60 days in advance that you will get a chance to experience certain attractions on your trip. I know this post has been very long, so thank you if you’ve made it this far!
What’s your must have FastPass+? Let me know in the comments!
Thank you so much for reading!
